Let me start by telling you how my three-year-old was yelling, "I don't like mommy and daddy anymore" tonight.
I am finding that the age of three is turning out to be harder than the dreaded terrible twos. When he was two, he wasn't terrible, but now he is starting to become his own person, he knows what he wants, and if we say no, then I guess he doesn't like us anymore.
I know he doesn't really mean it, well, I'm sure he means it in the moment, but you know what I mean. It still isn't fun to hear! I am hoping this new development will not last long! He's going to like mom forever, right?!
And with that, let's move on to the wonderful loving bible verses I put together tonight to start tomorrow - when hopefully - I will be liked again!
I got this idea from my sister who found it on Pinterest. She always finds great ideas and so I find myself copying them often! Thanks sis!
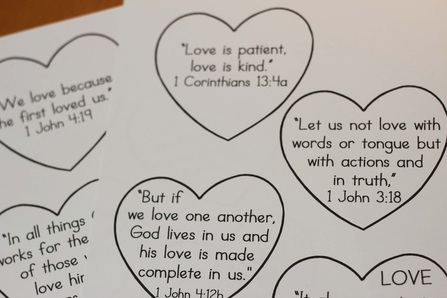
Here are the links that you can use to make these for yourself!
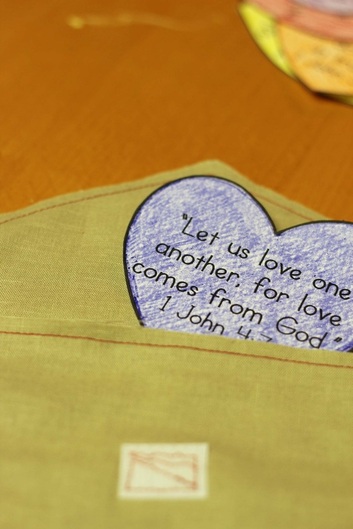
-Heart Verses-
http://thecraftyclassroom.com/blog/2012/02/06/love-bible-verses-for-children/
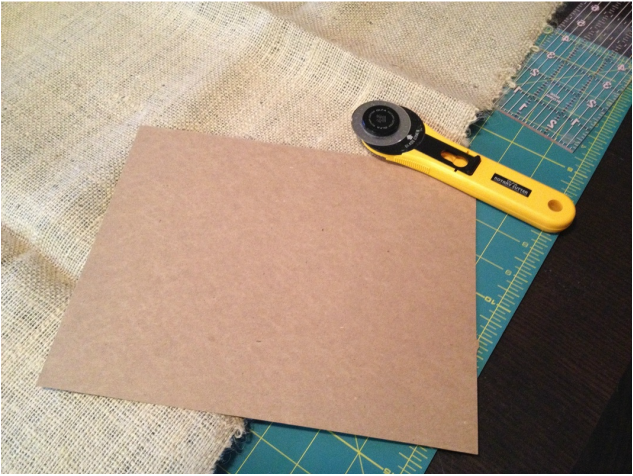
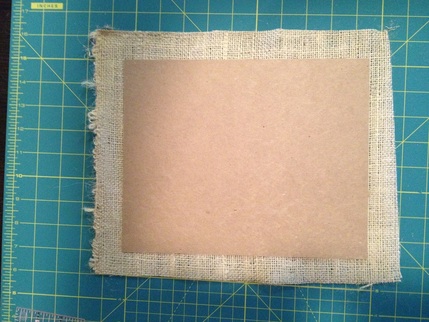
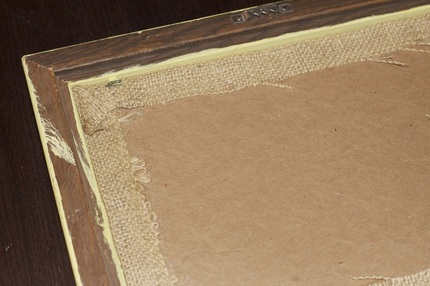
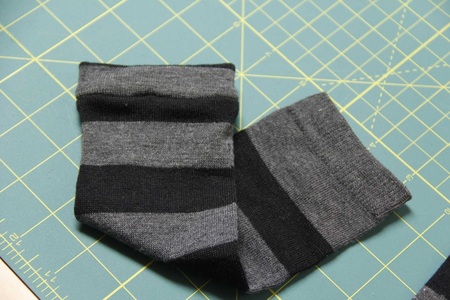
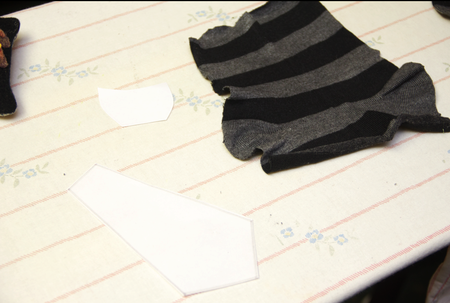
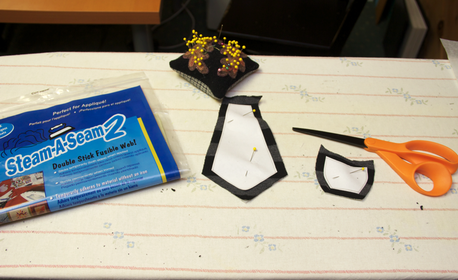
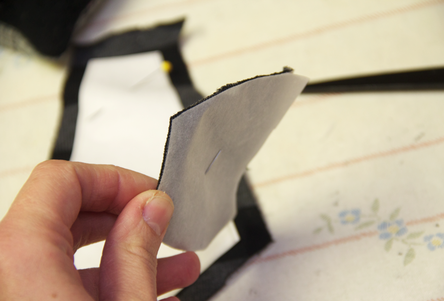
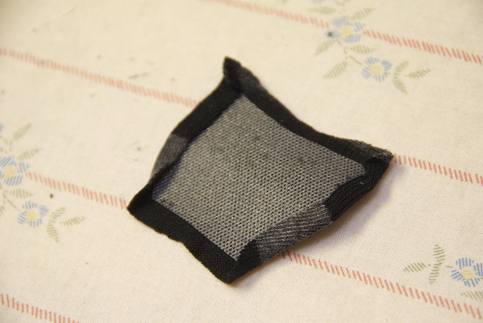
Fabric Envelope
http://www.craft-o-maniac.com/2013/01/diy-valentine-fabric-envelopes-and-use.html
-Heart Verses-
http://thecraftyclassroom.com/blog/2012/02/06/love-bible-verses-for-children/
Fabric Envelope
http://www.craft-o-maniac.com/2013/01/diy-valentine-fabric-envelopes-and-use.html
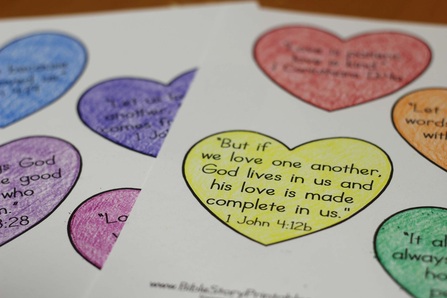
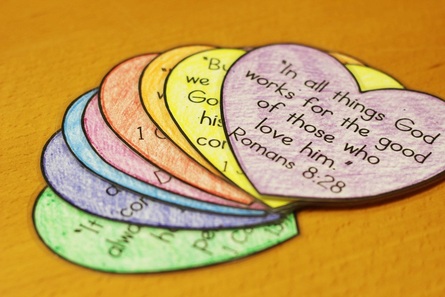
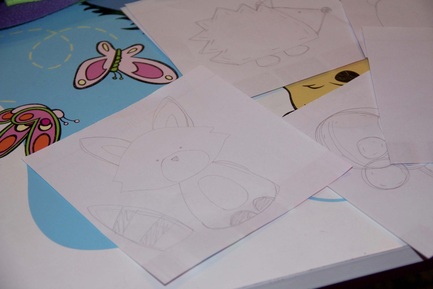
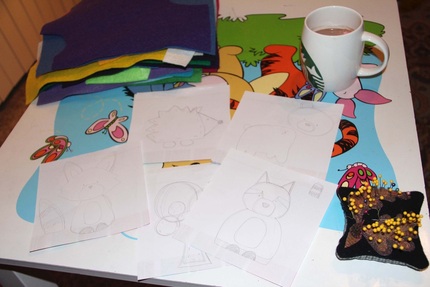
I do enjoy some coloring!
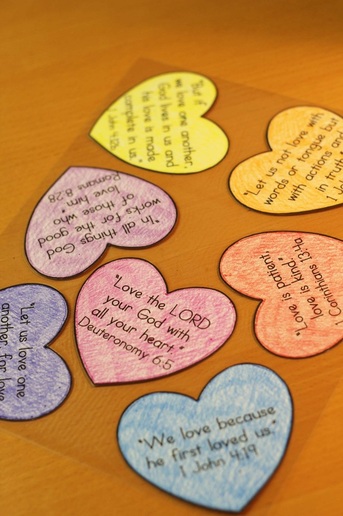
I laminated them so I can use them again in the years to come.
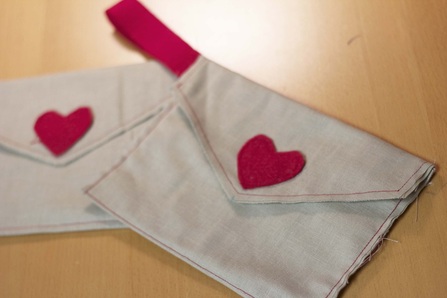
These envelopes will hang on the door and I will put a heart in (i have 8) so one each day until Valentine's day.
What are you doing with your kiddos for Valentine's Day?

 RSS Feed