Framed burlap. Sounds super exciting right? Well maybe if you are crazy about burlap, but I think this craft turned out really cute and can't wait to make more!
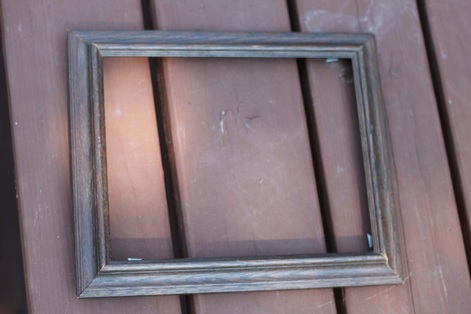
I started with a wooden frame and sanded it to help the paint stick.
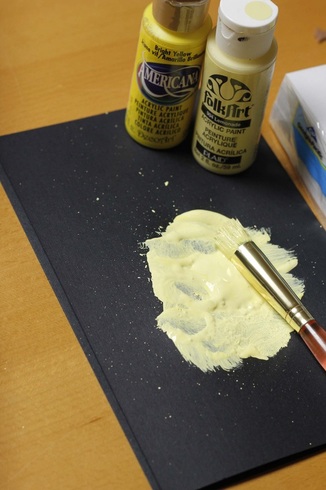
I mixed two yellows together to get a nice soft color and began painting.
First coat does not look so great, but after a second one it looked pretty good. I didn't want the wood to be shining through.
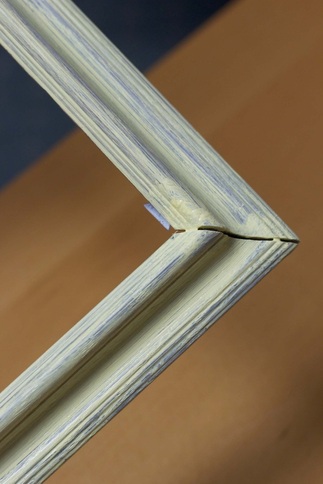
After the paint had dried, I used some rough sand paper and went over the top and sanded some areas to make it look distressed. I didn't love the frame until I did this step!
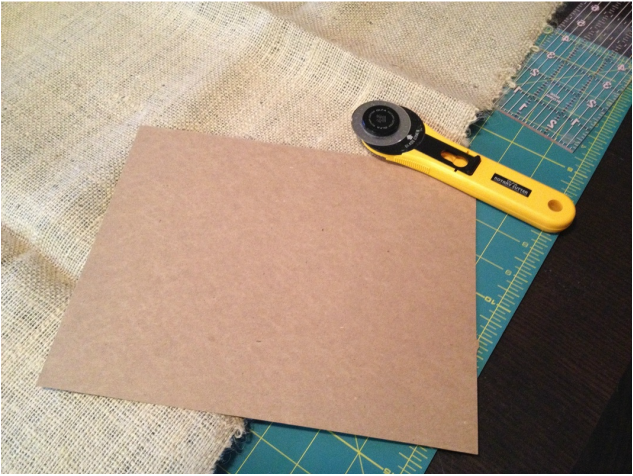
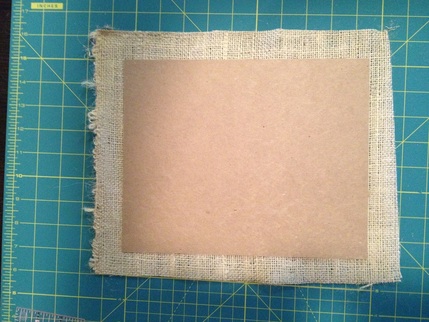
I had measured some thick cardboard I had gotten from some pictures in the mail and cut it to fit inside the frame. I cut around the board leaving some excess on each side so I could fold the burlap behind it to keep it from fraying.
I hot-glued the burlap onto and around the cut out.
After the paint had dried, I used some rough sand paper and went over the top and sanded some areas to make it look distressed. I didn't love the frame until I did this step!
I had measured some thick cardboard I had gotten from some pictures in the mail and cut it to fit inside the frame. I cut around the board leaving some excess on each side so I could fold the burlap behind it to keep it from fraying.
I hot-glued the burlap onto and around the cut out.
After glueing the burlap on, I had to glue the board to the frame. I placed the board inside and it fit very nicely.
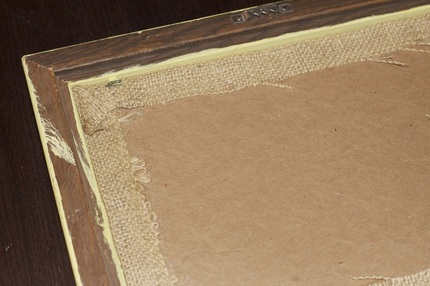
Since the frame I was working with did not have a back, I had to make my own.
I filled up the back with some more cardboard pieces and some burlap to make it sturdy, then glued one final piece onto the back.
I filled up the back with some more cardboard pieces and some burlap to make it sturdy, then glued one final piece onto the back.
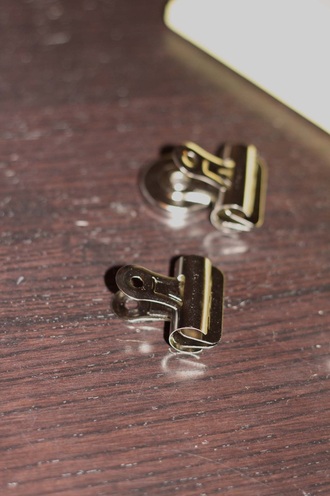
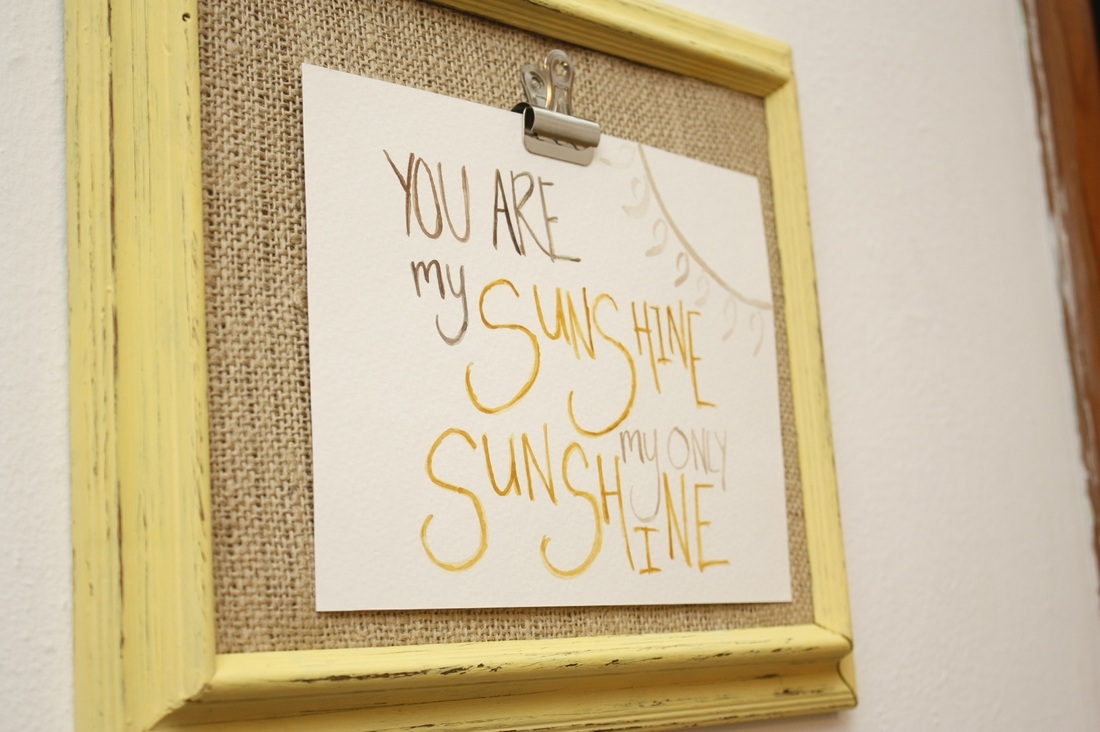
Then I took one of these clips I found at Office Max and used my hot-glue gun to fasten it in the middle of the front of the frame.
The clip came with a magnet attached to the back but I just used a pliers to get that off. Wah-lah!
The clip came with a magnet attached to the back but I just used a pliers to get that off. Wah-lah!
Even though this frame did not have a back, it did already have a hook so it could be hung.
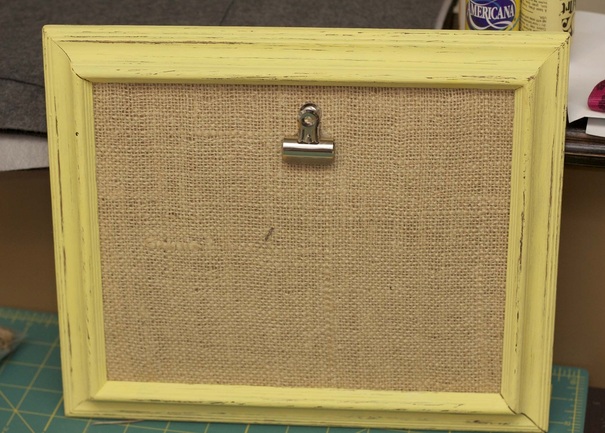
And here is the final product!
This was another gift to my friend for her baby, and she has utilized it quite well!
This was another gift to my friend for her baby, and she has utilized it quite well!
 RSS Feed